- Visibility 131 Views
- Downloads 24 Downloads
- DOI 10.18231/j.jco.2024.058
-
CrossMark

A simple bracket placement device
- Author Details:
-
 Rohan S Hattarki *
-
Amit B Nilgar
Introduction
Various metallic jigs and wooden instruments have been described previously for the orthodontic bracket positioning. [1], [2], [3], [4] These jigs have to be frequently changed for placement of brackets at different heights. Also most of the brackets positioning gauges are helpful in improving the vertical positioning of the bracket (occluso- gingival). But it is necessary to position the brackets on the tooth in the correct horizontal position as well (along the long axis of the tooth). The present article describes a single instrument to position the bracket on the tooth at a desired height and also along the long axis of the tooth.[5]
Fabrication
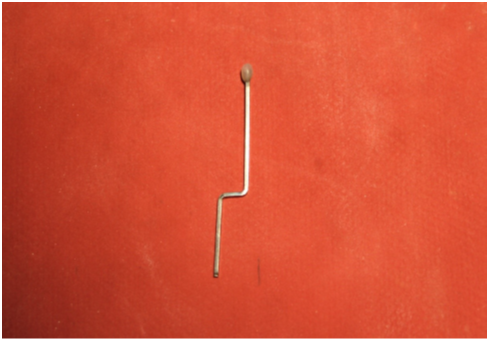
Take a 0.017” X 0.025” straight length stainless steel wire and give a step bend as shown in the figure. ([Figure 1])
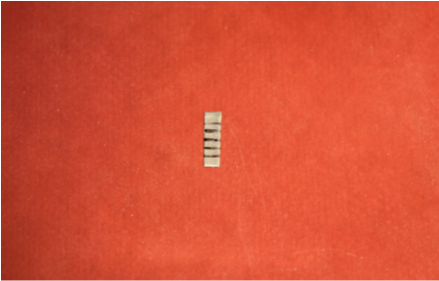
Take a small piece of orthodontic band material of around 5 to 6 mm length.
Mark on the flat surface of the band material 1 mm apart. ([Figure 2])
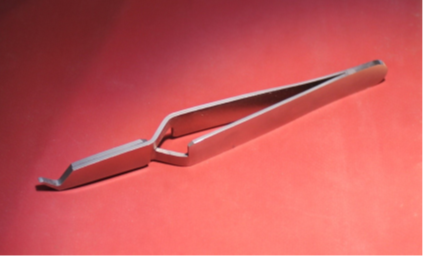
Keep an orthodontic bracket placement tweezer ready. ([Figure 3])
The band material with the markings on it, is attached to the SS wire with the help of a cyanoacrylate glue at the point where there is step in the wire. The wire-band assembly is then attached to one of the arms of the tweezer with glue.
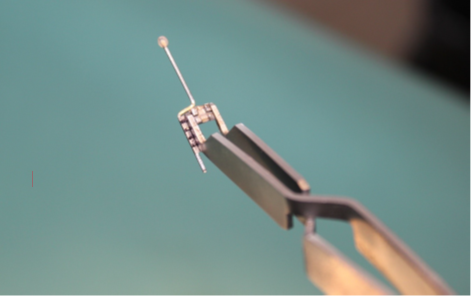
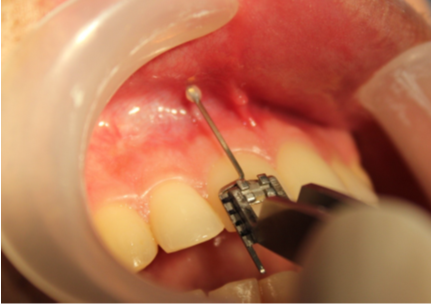
The bracket to be positioned is held in such a way that the top most marking coincides with the slot of the bracket and the vertical arm of the wire extends up along the centre of the bracket. ([Figure 4])
The bracket can be placed at desired height just by moving the tweezer up or down and coinciding the marking on the band with the incisal edge. Apart from positioning the bracket at desired height, the vertical SS wire will help in positioning the bracket along the long axis of the tooth. ([Figure 5]) The free end of the SS wire is covered by adhesive resin to prevent injury to the soft tissue.
Advantages
Single instrument is used for holding the bracket and positioning it at desired height.
Saves chair side time
Source of Funding
None.
Conflict of Interest
None.
References
- SK Carlson, E Johnson. Bracket positioning and resets: Five steps to align crowns and roots consistently. Am J Orthod 2001. [Google Scholar]
- RHA Samuels. A new bracket-positioning instrument. J Clin Orthod 2000. [Google Scholar]
- H Droschl, HP Bantleon. Bracket positioning gauge. J Clin Orthod 1986. [Google Scholar]
- CN Smaha, E Voth. D: A positioning device for direct bracket attachment. Am J Orthod 1972. [Google Scholar]
- RS Hattarki, S Malag. A modified bracket-positioning gauge.. Orthod Art Pract Dentofac Enhanc 2011. [Google Scholar]